
Introduction
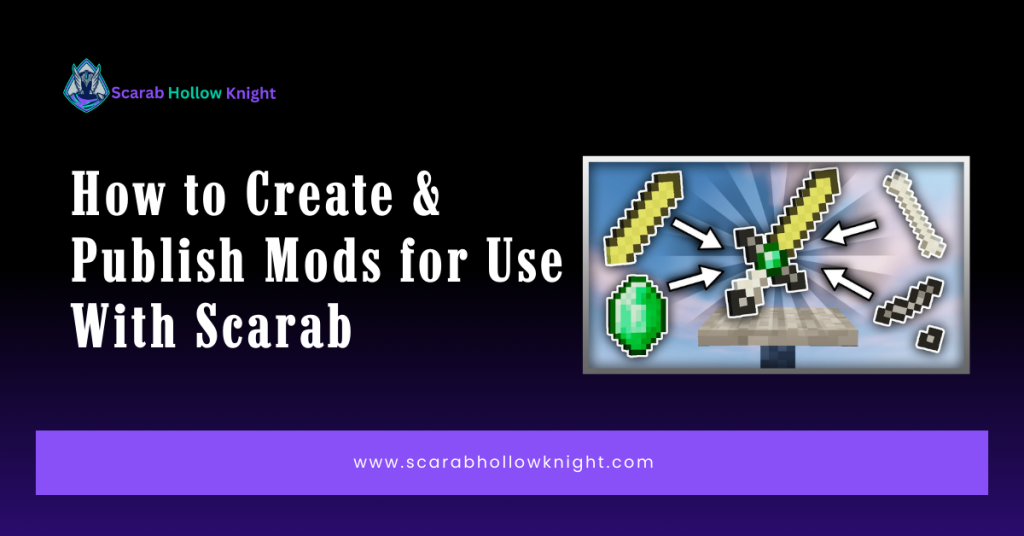
Creating your own mods is one of the best ways to customize and expand your Hollow Knight experience. If you’ve ever wanted to add new features, tweak gameplay, or share your creations with others, learning how to create and publish mods for use with Scarab is the perfect starting point. Scarab makes it easier to manage and distribute mods, but understanding the correct process is key to ensuring compatibility and smooth performance.
In this guide, we’ll walk you through how to create and publish Scarab mods step by step, from setting up your development environment to packaging and sharing your mod with the community. By following these best practices, you can ensure your mods work reliably and reach players without issues.
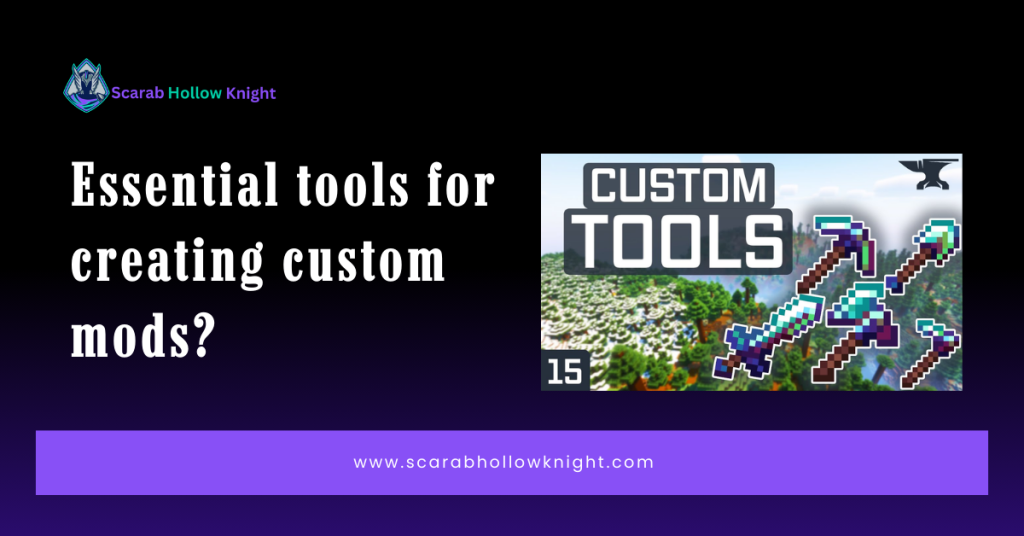
What are the essential tools for creating custom mods?
To build a professional mod, you need a set of tools that allow you to write and compile code effectively. Most creators choose Visual Studio because it provides a solid environment for C# programming and debugging.
You also need to gather the core game files to act as a foundation for your custom code. Having these tools ready ensures your development process is fast and free of annoying technical hurdles.
Setting Up the C# Development Environment with Visual Studio
Visual Studio is the industry standard for Windows development and offers great support for the Unity engine. You should install the .NET Desktop Development workload to ensure you have all the necessary compilers ready.
This software helps you catch errors in your code before you even try to run the game. It is a powerful ally that makes the technical side of modding feel much more approachable for beginners.
Integrating the Modding API Reference Libraries
The API is the bridge that connects your custom code to the game’s internal systems, like health or movement. You must reference the game’s main files in your project to tell the compiler how to talk to the engine.
In Scarab Hollow Knight, once your API references are set, the manager can easily recognize your work. This step is vital for ensuring your mod can actually change things inside the game world.
Structuring Your First Project for Maximum Compatibility
A well-structured project is much easier to update when the game receives a new patch. Organizing your folders and files correctly from day one prevents a lot of confusion as your mod grows. By following the community standards, you make it easier for other developers to help you if you get stuck. A clean project layout is the mark of a developer who knows what they are doing.
Initializing a New Class Library Project
- Open Visual Studio and select “Create a new project” from the main start screen.
- Choose the “Class Library (.NET Framework)” template to ensure compatibility with the game engine.
- Name your project something unique and set the framework version to match the current game requirements.
- Delete the default class file and create a new one that will hold your main mod logic.
| DLL Plugin | New Code/Logic | .dll |
| Asset Replacement | Visuals/Skins | .assets / .png |
| Hybrid Mod | New Gameplay & Art | Mixed |
Finalizing and Packaging Your Files for Distribution
Once your code is working, you need to package it so other players can install it with one click. This involves gathering your compiled files and adding a special description file for the manager to read.
Proper packaging ensures that your mod installs correctly every time without breaking the user’s game. It is the final polish that makes your creation look and feel like a professional product.
Creating the Manifest JSON for Manager Identification
The manifest is a tiny text file that tells the mod manager your mod’s name, author, and version. Without this file, the manager will not know how to display your mod in the player list.
You need to follow a specific format so the software can read the data without any errors. It is a simple but essential step that connects your files to the community’s global database.
Checklist for Compiling and Naming Your Final Release Files
- Set your build configuration to “Release” mode to optimize code for maximum performance.
- Ensure your final .dll file is named exactly what you want the mod to be called.
- Place your .dll and manifest.json into a single zip folder for easy sharing.
- Check that no unnecessary temporary files are included in your final distribution package.
How to Upload and Host Your Creations on GitHub
GitHub is the best place to host your mods because it is free and built for developers. It lets you track every version you release and provides players with a safe place to find updates.
Hosting your work here makes it easy to share your progress with the community. It also allows the mod manager to locate your files and make them available to players around the world.
Comparison of Hosting Methods: GitHub Releases vs. Direct Downloads
| Version History | Excellent Tracking | Very Difficult |
| Manager Support | Fully Automated | Manual Only |
| Trust Level | Very High | Low |
Managing Version Control for Consistent Software Updates
Version control lets you save “snapshots” of your code so you can revert to a previous version if a new change breaks everything. It is a safety net that every professional developer uses to keep their work organized and safe.
Using GitHub to manage these versions ensures that players always get the most stable build. It also makes it simple for you to push out quick fixes if the community finds a bug in your mod.
Troubleshooting Compilation Errors and Loading Failures
It is normal to run into errors when you first try to build your mod. Most of these issues are just small typos or missing links to the game files that can be fixed in a few seconds. Learning how to read error messages is a superpower that will make you a much better creator. Once you understand what the computer is asking for, you can fix any problem that comes your way.
Quick Points for Fixing Reference Errors and Missing DLLs
- Re-check your project references to ensure HollowKnight.dll is correctly linked to its path.
- Verify that your “Copy Local” setting for game files is set to “False” to avoid file bloating.
- Clean and rebuild your project to clear out any old data that might be causing a conflict.
- Ensure you are using the correct .NET version that matches the game’s specific architecture.
Debugging Runtime Crashes in the Unity Game Engine
If your mod compiles but crashes the game, check the “output_log” file. This text file tells you exactly what the game was doing the moment it stopped working.
Finding the specific line of code that caused the crash allows you to fix the logic and try again. It is a process of trial and error that every modder goes through to reach perfection.
Conclusion
Creating your own mods is the best way to give back to a game community that has given us so much. By setting up your tools correctly and following the community standards, you can build something truly special. You don’t have to be a genius to start; you just need the passion to learn and the patience to solve problems.
Once your first mod is published and players start enjoying it, you will feel a massive sense of pride. Grab your tools, start coding, and let’s see what amazing things you can bring to the world of modding today!
Frequently Asked Questions (FAQ)
Do I need to be an expert coder to start making mods?
Not at all! Many creators start by looking at the source code of simple mods and making small changes to see what happens. Basic knowledge of C# is helpful, but you will learn a lot just by experimenting and using community templates.
How do I make my mod show up in the manager list?
Your mod needs a “manifest.json” file that includes the name, author, and version of your work. Once this file is included in your release, the manager can read the data and display it to every player.
Can I create new skins without writing any code?
Yes, simple skin swaps usually only involve replacing image files rather than writing C# code. However, if you want the skin to have special powers or unique animations, you will eventually need to dive into coding.
Is it free to publish my mods on GitHub?
Absolutely! GitHub is a free platform used by almost every developer in the community to host their files. It lets you keep track of different versions and provides players with a safe place to download your latest work.
What happens if the game updates and breaks my mod?
When the game updates, you usually just need to recompile your mod using the latest version of the Modding API. This process is very fast and ensures that your creation stays compatible with the newest version of the game.
Where can I find the source code of other mods to learn from?
Most creators share their source code on GitHub because the community thrives on sharing knowledge. You can search for existing mods and study their files to understand how they achieved specific effects or mechanics.
Can I make mods for consoles like the Switch or PlayStation?
Currently, modding is only officially supported on the PC and Mac versions of the game. The console versions are locked down, making it nearly impossible to inject custom code or assets into them safely.
How do I get my mod officially added to the main list?
Once your mod is on GitHub, you can submit it to the community’s global database. After a quick review by moderators to ensure safety, it will appear in the manager for everyone to download and enjoy.
Latest Posts:


